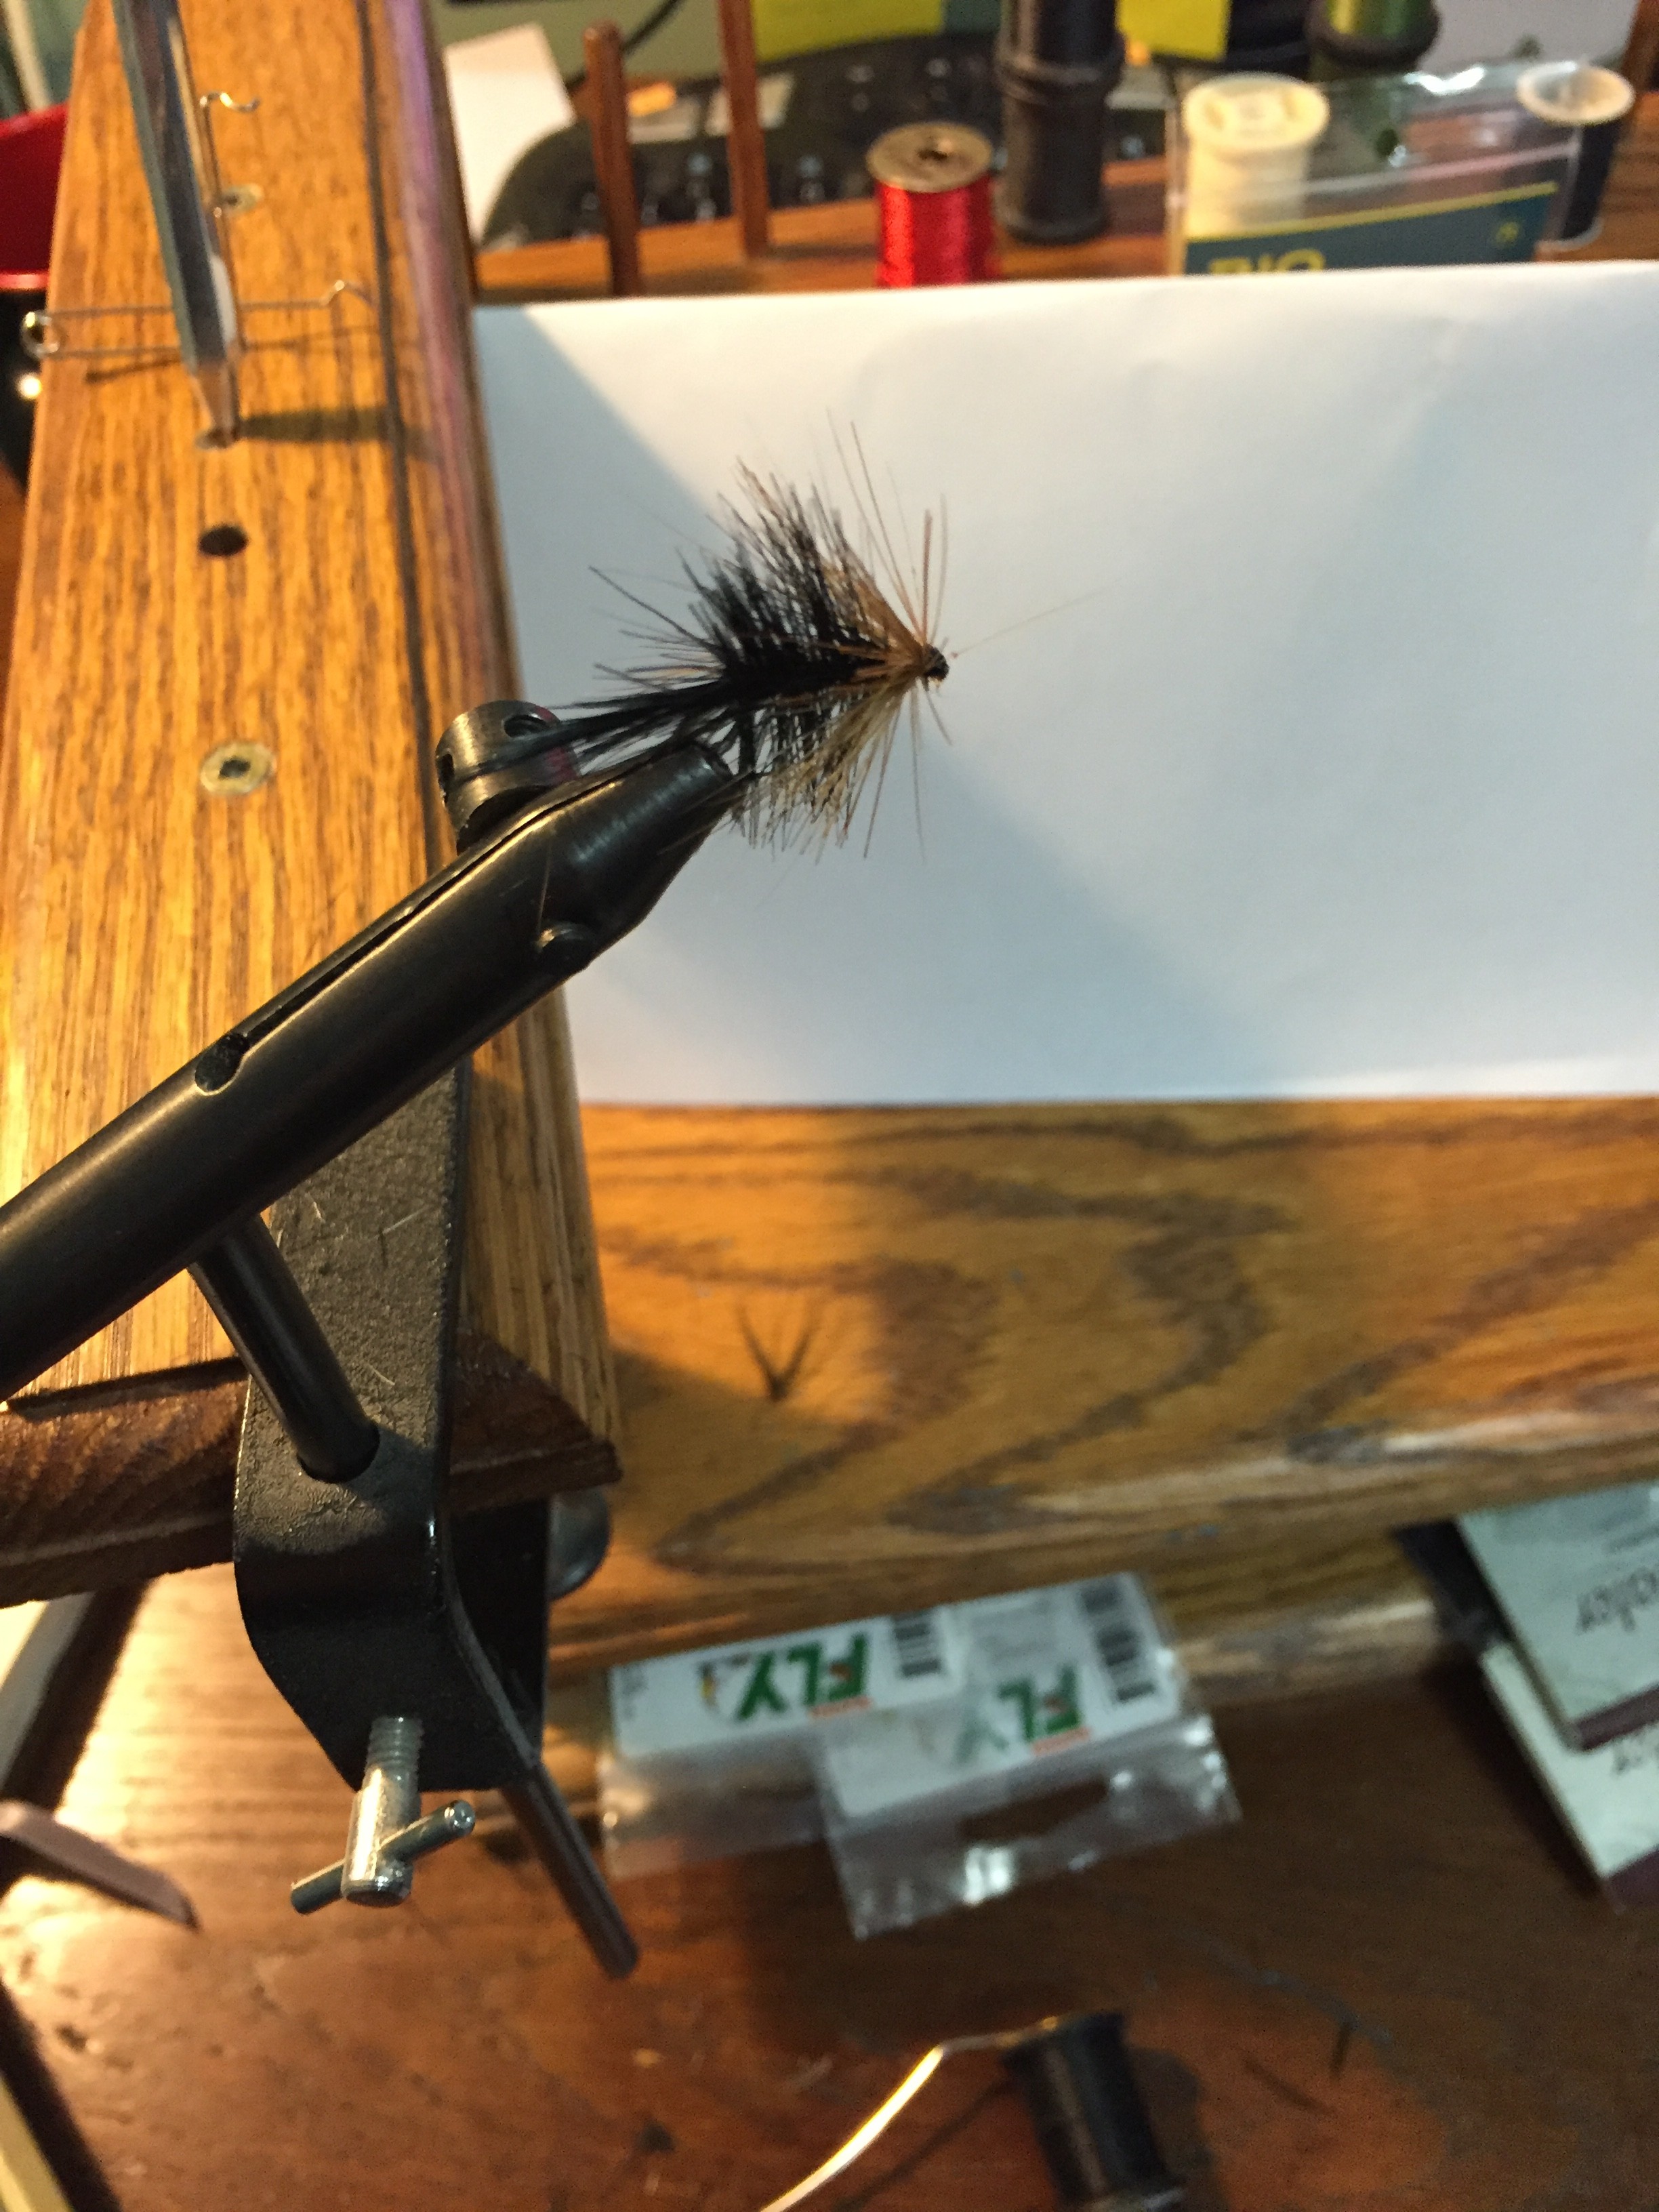
Fly #5 in the Series
This fly is classic nymph imitation. It can fool a trout into taking it just subsurface in low light or let the fly sink and use it as a bottom runner. First time I fished a fly similar to this, we called it the Trout Pond Slayer. It was little more than a ball of brown hare’s fur, tossed into the pond to imitate the food the pond attendants fed the fish, small pellets. Imitate what they feed on and catch fish.
Tying the Hare’s Ear Nymph
This is a very straight forward fly to tie, with the exception of properly selecting enough wing material for the wing casing (in one of the variants I tied). I had trouble finding the right materials, at least the webby hen or partridge hackle used for the collar. I tried substituting a few materials with limited success. Finally I moved on to tying this fly as a Hare’s Ear Nymph, complete with wing casing.
Difficulty Level: 3 out of 5. According to the Fly Tying Bible this is a 3 out 5 for tying difficulty. Once you figure out how much feather materials to use of the wing casing, and how to keep it on top of the body, the rest of the fly is really easy. However, in most of the nymphs I tie, I leave out the tinsel.
Materials:
- wet fly hooks, from #8 to #14
- black or brown thread
- lead wire
- hare’s fur dubbing, brown or grey
- grey feather fibres
- hare’s fur or substitute
Place the hook in the vice. Starting just behind the eye, build up wraps of thread approximately 1/4 down the shank, catching in the tag end of lead wire. Wind on 4 or 5 wraps of lead wire. The lead wire help make the fly head heavy and creates a bobbing action as you strip in line. Cover with tying thread and continue the tying thread to the hook bend. Catch in some hare’s hair at the hook bend or some other soft animal hair.

Wind on the hare’s fur dubbing by rolling it continuously around the thread then wrap it on, using each successive wrap to hold the loose fur in place. Add a couple of overwaps if needed to hold the body fur in place.

Build the body up thicker near the front of the fly.
As I mentioned, I was not able to get any proper collar material so I experimented with other materials. In the pic below, I tried some of the soft feather material from the base of duck wing feathers. In the water, it might pulse a bit as the fly is pulled. I also used elk hair, which was difficult to hold in place and then attach. If that version of the fly catches more fish, I will certainly have an update. This summer. In this case, I attached the fibres and then built up a head with tying thread.

In this next example, I wound the dubbing forward about 2/3 of the way to the eye, then caught in grey feather fibres with the tag end forward. Then dub on some more hare’s fur and build up a thicker body over the tag end.

Then pull the feather fibres forward and secure with the tying thread, then build a head and tie off, finishing with head glue.

This is a very versatile pattern that seems to work because it just looks buggy. Keep away from the urge to make this too flashy or sophisticated and keep it a little messy.

The Fly Box
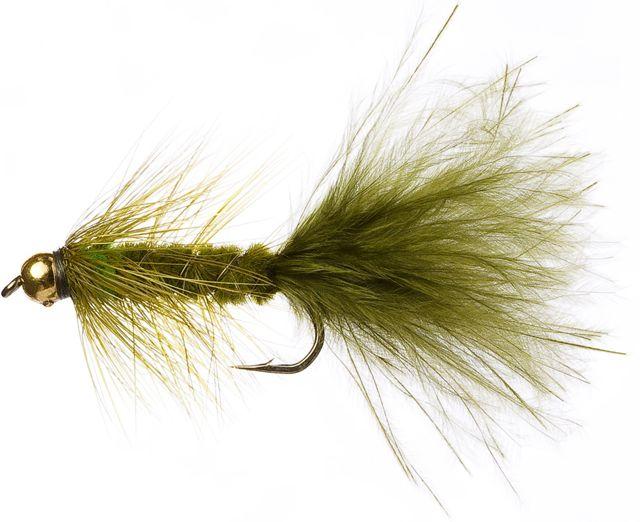
The bottom of the box now has several fly versions, the dry fly Bivisible and the very adaptable Hare’s Ear Flymph / Nymph.
With Wooley Buggers, Brown and White Bucktails (Mickey Finn), and Clouser Minnows. These are all considered sub-surface patterns, fished as wet flies. They are also fairly large fly patterns. They are used to go down to where the fish are, feeding in the water column or the at bottom.

The selection is now getting to where we can fish most conditions for many species of fish in Western Canada. Just as an aside, the opening day of fishing season in Canada is now passed and I will be adding articles on Fishing Flys for Canada with some results.