This year I plan to do the same, with a similar but more relevant Outdoor Canada article from this year, The 7 must-have flies for trout anglers in the West.
So this year the series of 7 Trout Flies for Western Canada will be written based my newest summer obsession, testing these 7 flies. Watch for the follow up articles of 7 Trout flies for Western Canada as I post the tying and trying results. Special bonus, I know some of these flies are also well suited for other species across the Prairie’s so expect some perch, walleye, pike and maybe some goldeye to be included in the stories.
This year’s line up of flies includes:
- Adams
- Catatonic Leech
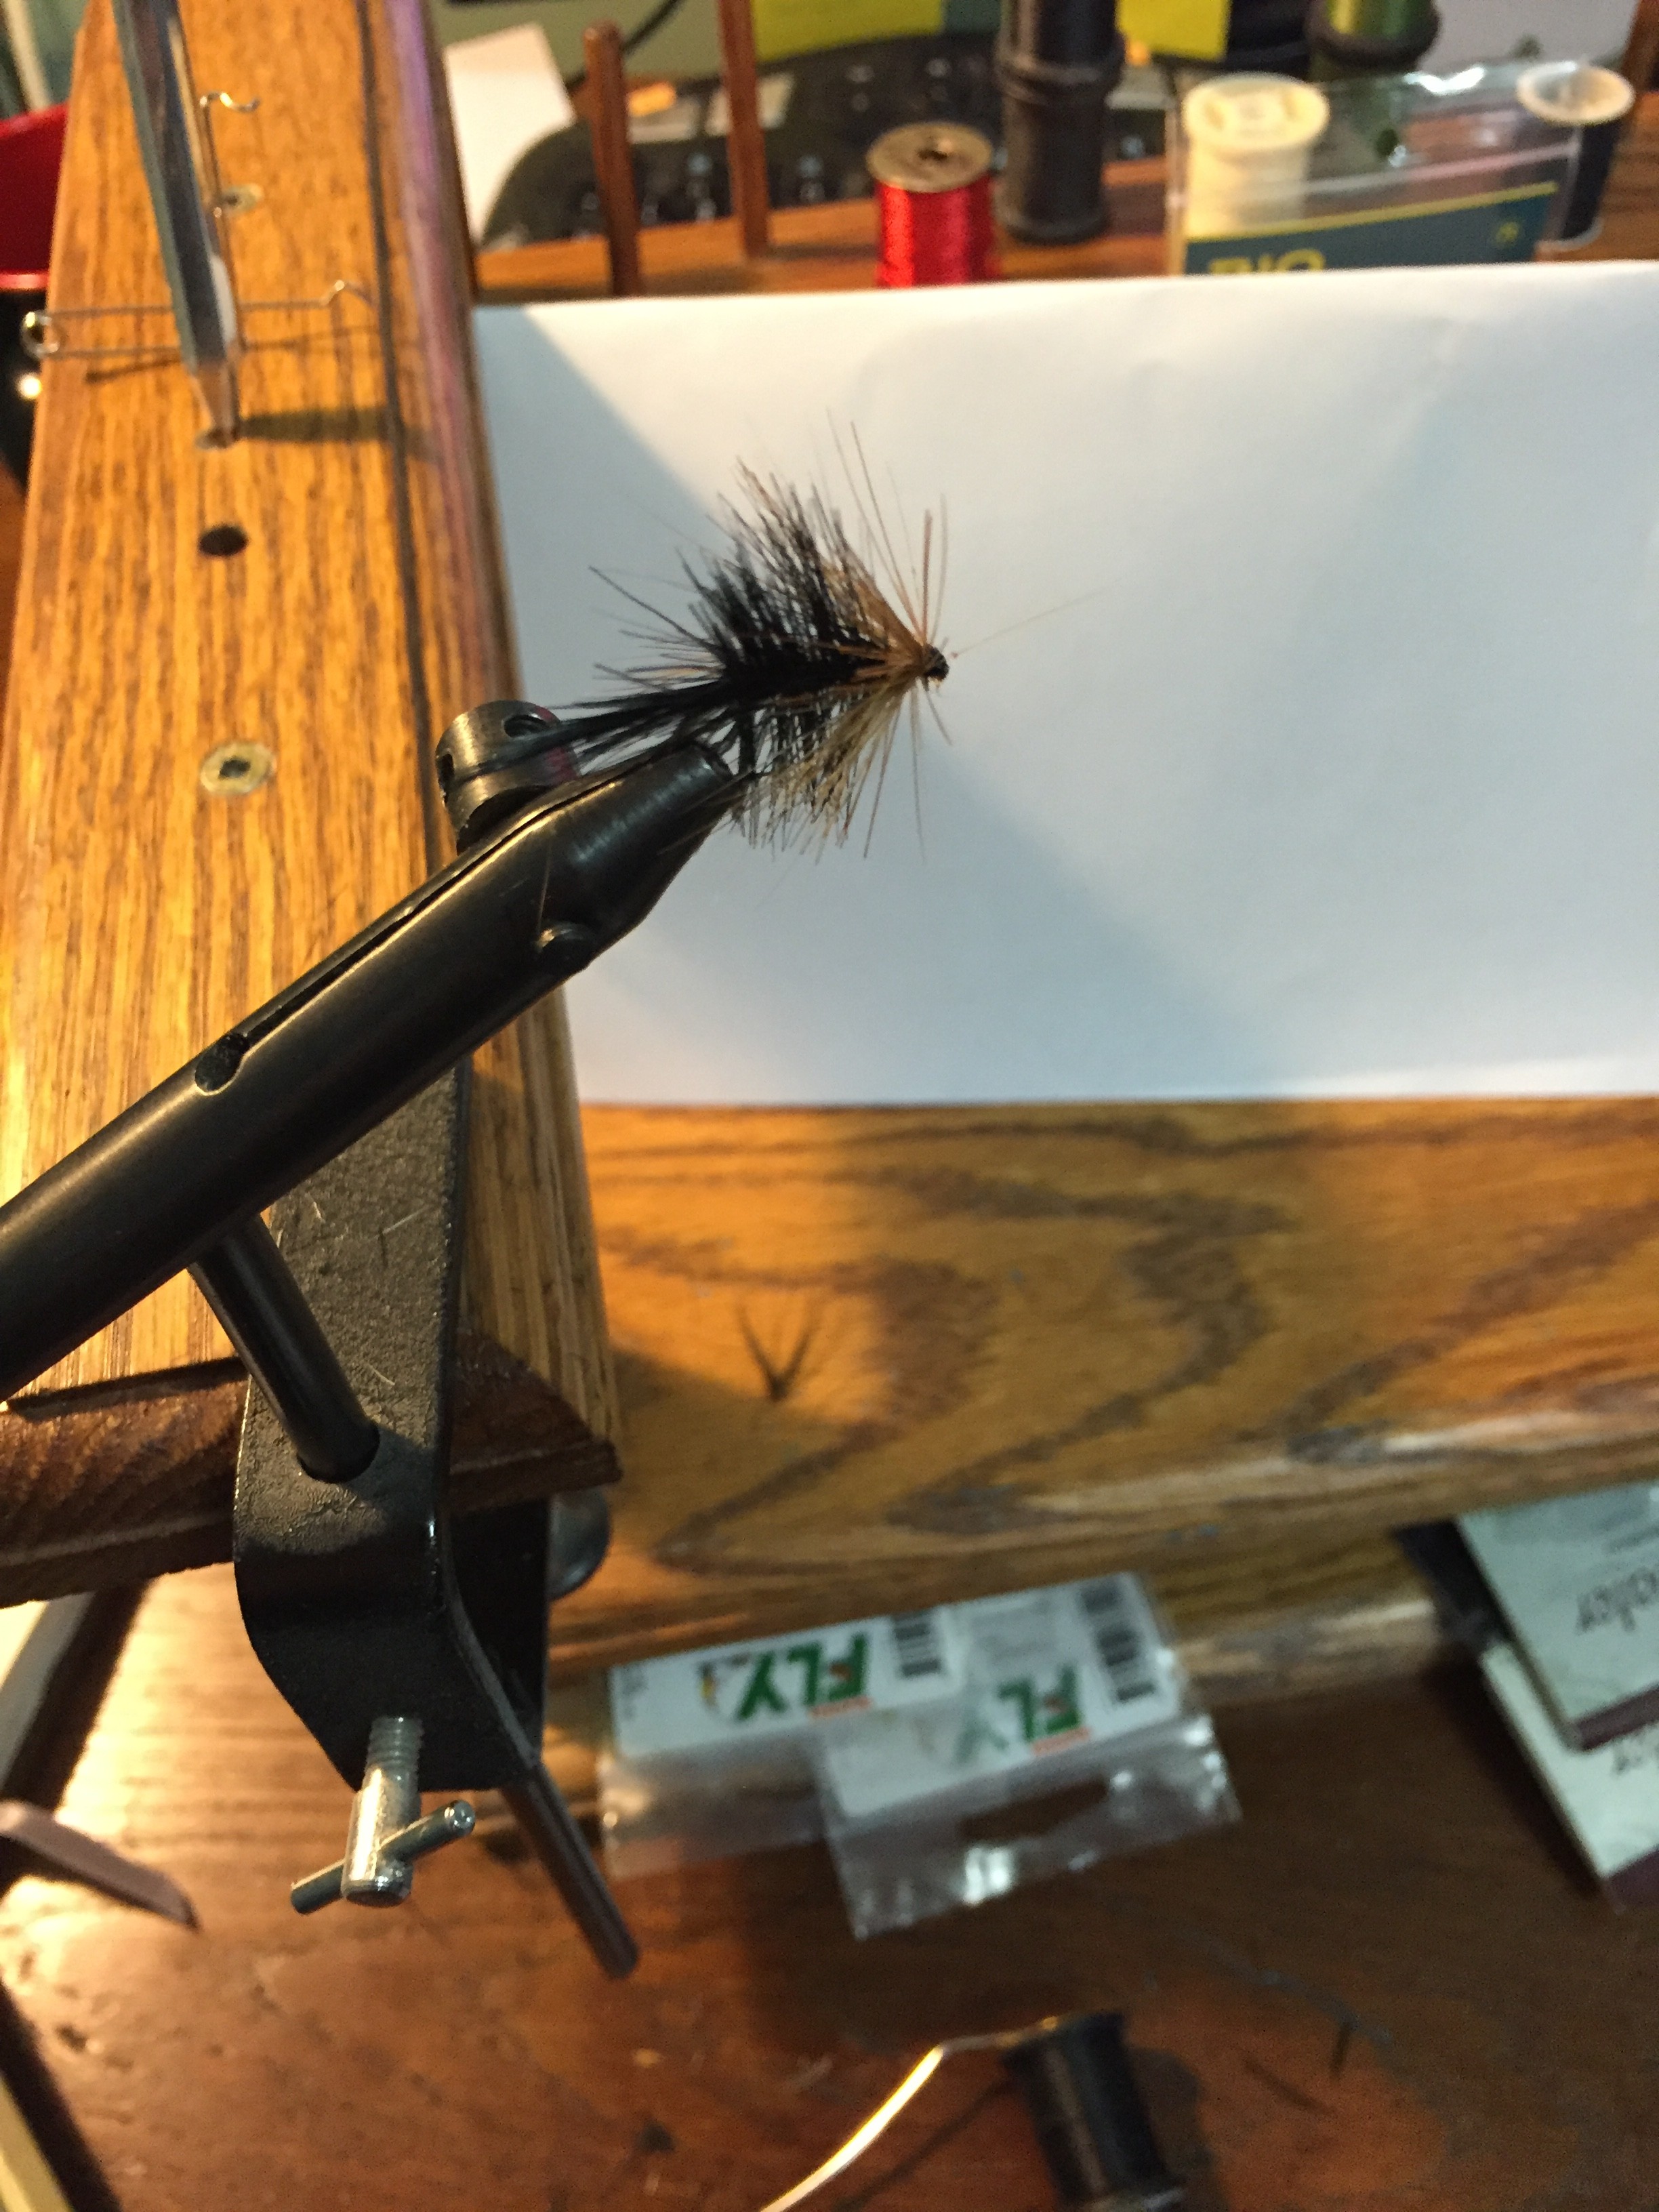
- Elk Hair Caddis
- Hares Ear Nymph
-
Letort Hopper
- San Juan Worm
- Zebra Chironomid
In one version or another I have fished all these flies in the past. The Adams is a great dry fly that can be used almost anytime there are winged bugs of any type hatching, and it’s a pretty easy fly to tie. Just have plenty of size variations to match size to what is floating on the surface. The Catatonic Leech is like a Woolly Bugger, minus the hackle wrapping, so it’s even simpler, but just as effective. The Elk Hair Caddis is probably my #2 Go To fly in my fly box. i will tie on the Hare’s Ear Nymph anytime the trout are not rising. Often I will use this fly in tandem with another larger heavier nymph to get deeper quicker. The Letort Hopper is new to me. i have fished other hoppers and they are fantastic for a windy sunny day when natural hoppers are getting blown off the tall grass next to the bank. The San Juan Worm is responsible for the best Brown Trout of my life, on the Bow River a number of years ago. I’ve also found that it works well for a few other species. Lastly, the Zebra Chironomid is a great fly for mid-summer lake fishing. It takes a bit of trial and error to get the tying process right.
The fishing season is open in parts of Alberta and will soon be open in Saskatchewan and Manitoba as well so my fly tying efforts over the next few weeks will focus on early season species and I’m looking for a reason to get out on the water. Any reason, any excuse. See you on the water!